
Exploding snow? Count us IN!
After countless snowy days, my kiddo actually said she was BORED *gasp*! The sled riding, snowmen and snowball fights are just not cutting it anymore. This actually makes me very happy; it’s an opportunity to engage her creative (and STEM!) side! Here are a few ideas for some snowy experiments:
Snow Volcanoes
You know, like the newspaper ones we made in 5th grade? These are even more exciting because they’re quick to make with almost no cleanup.
You’ll need:
- a cup or jar
- baking soda
- vinegar
- dish soap
Directions: I love that exact measurements are not necessary and you can spruce it up with food coloring. Build a snow volcano around your cup, add a tablespoon of soap and optional coloring, fill a quarter with water and a quarter with baking soda. Have your kiddo dump vinegar at any pace and watch the amazement! Repeat as many times as you want with more baking soda/vinegar, throw out your cup and leave the mess behind to melt away.


Frozen Bubbles
Not like Elsa Frozen, but actual bubbles that freeze in very low temperatures. This was quite an experiment, one that didn’t work out for us! As I told my kiddo, this is how we learn and sometimes experiments don’t work out the way we plan.
You simply add bubbles to a bowl or plate and use a straw to blow. If your temperatures are low enough, recommended 2-12 degrees, they should instantly gloss over. I suspect 19 degrees is not cold enough, something I never thought I’d say. I’d love to know if this works for you!
Snow Molds
While out shopping before Snowmageddon, we came across cute snow molds with coloring. My 5 year old cannot resist anything Unicorn and I cannot resist when she finds a useful toy for under $3. Score for both of us. We experimented with different colors, adding a fun lesson on mixing to make new colors, primary vs secondary colors and what type of snow is best for molds. Our answer: not the fluffy kind. If you have any type of coloring and a spray bottle, skip the molds and have fun color spraying your yard.


Ice Painting
Once I talked her back into the warmth, we finished our snow day with a little ice painting. This does require a bit of prep but is super easy! 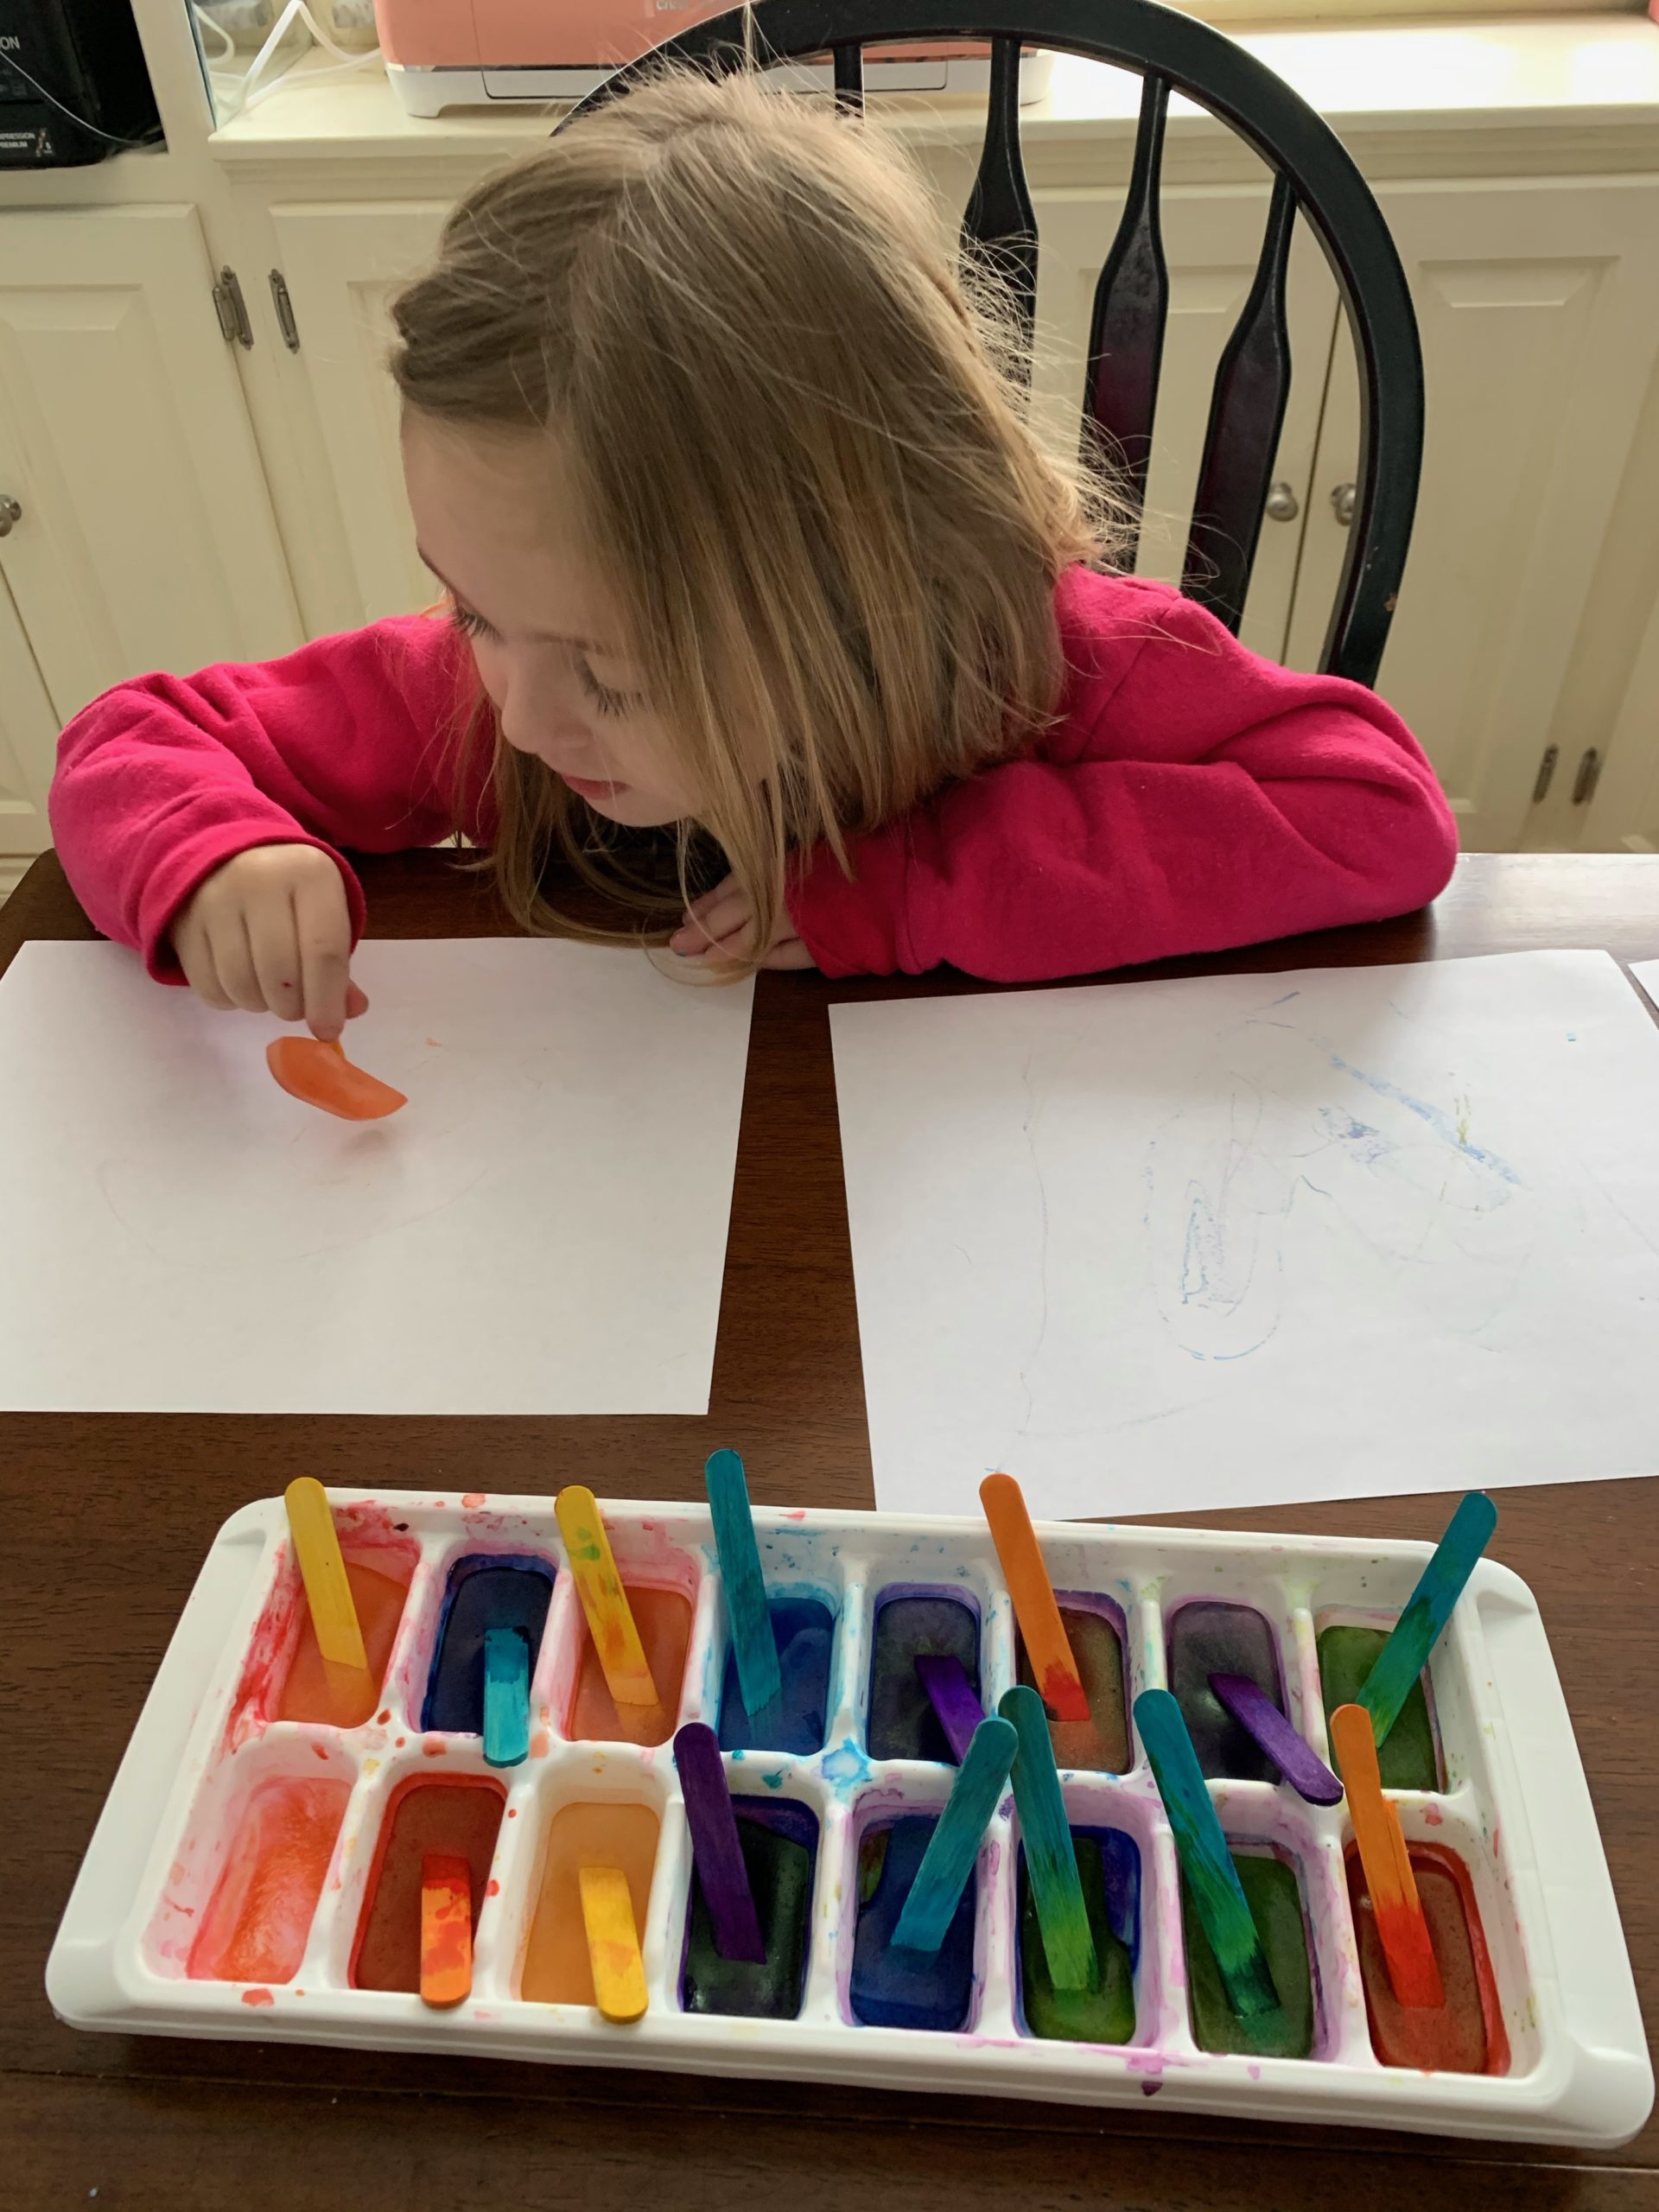
You’ll need:
- an ice cube tray
- food coloring or water coloring
- popsicle sticks
- water
Directions: Fill the ice cube tray with water. Add food coloring. There’s no right or wrong amount of coloring to add; more for vibrancy, less for subtlety. Stick half a popsicle stick in the mold and freeze to make a colorful frozen paintbrush.
If you find your kiddos or yourself a little bored of the snow like us, check your pantry for these everyday ingredients. With the forecast ahead, we reluctantly have some more snow days to bring some joy out of.
About Rebecca
 An adventurous Mama and Preschool Teacher, Rebecca grew up far East of Cincinnati in rural Ohio. She made her way to the city through church where she credits her love for volunteering with finding her husband and growing her faith.
Rebecca has resided from West to East; Bridgetown to West Chester, Anderson to Miami Township. She has a love for anything outdoorsy. You’ll find her kayaking on the Little Miami, camping at any state park and fishing all of the little lakes in between.
She’s rarely seen without her daughter who affectionately is an adventurer, too. The dynamic duo will never pass up on good BBQ, a new activity and sharing their love for Cincinnati with others.