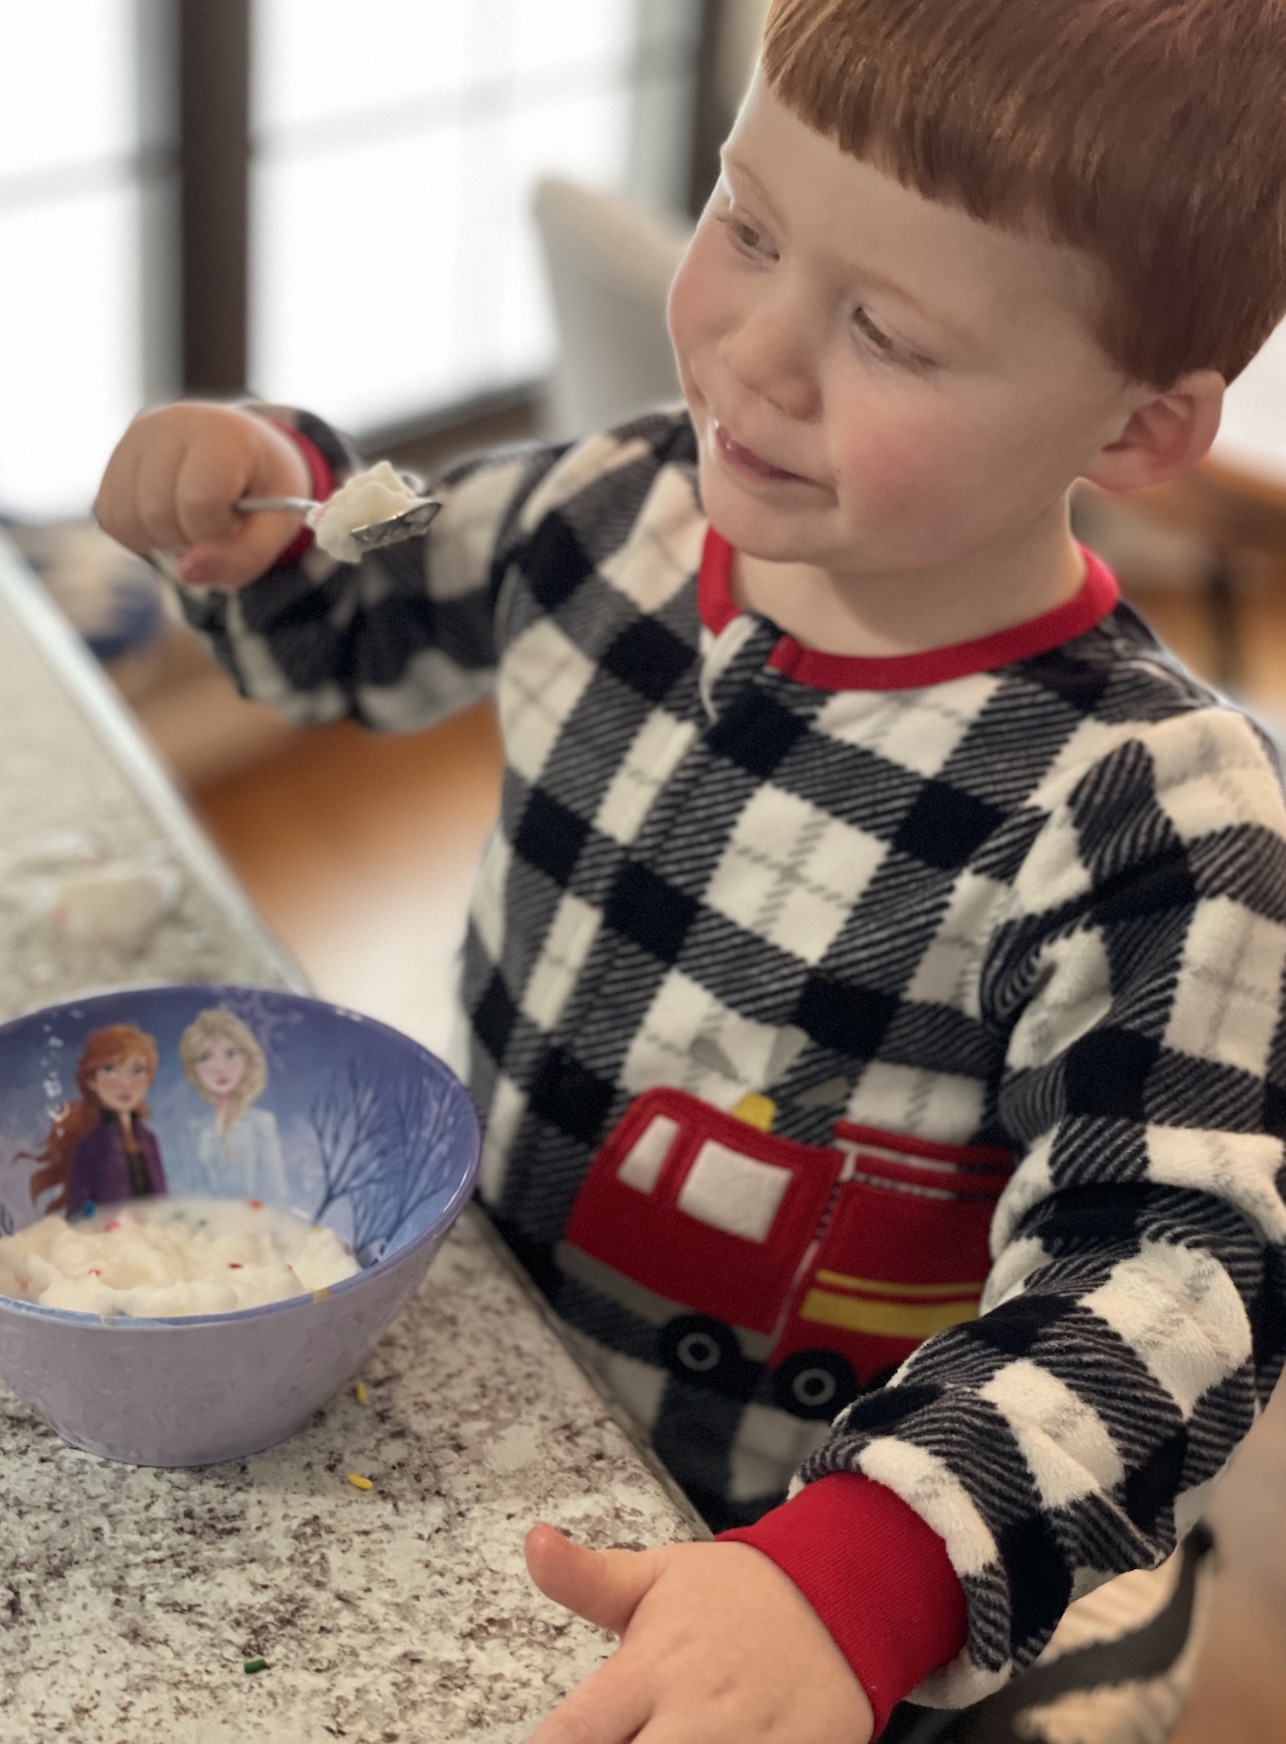
Snow days are the best! But with a 3- and 1-year-old at home, the day becomes less about having fun in the snow, and more about having fun with the snow inside. Making homemade snow ice cream is so easy, you can do it while holding a baby.
Step 1: Head outside and collect the snow.
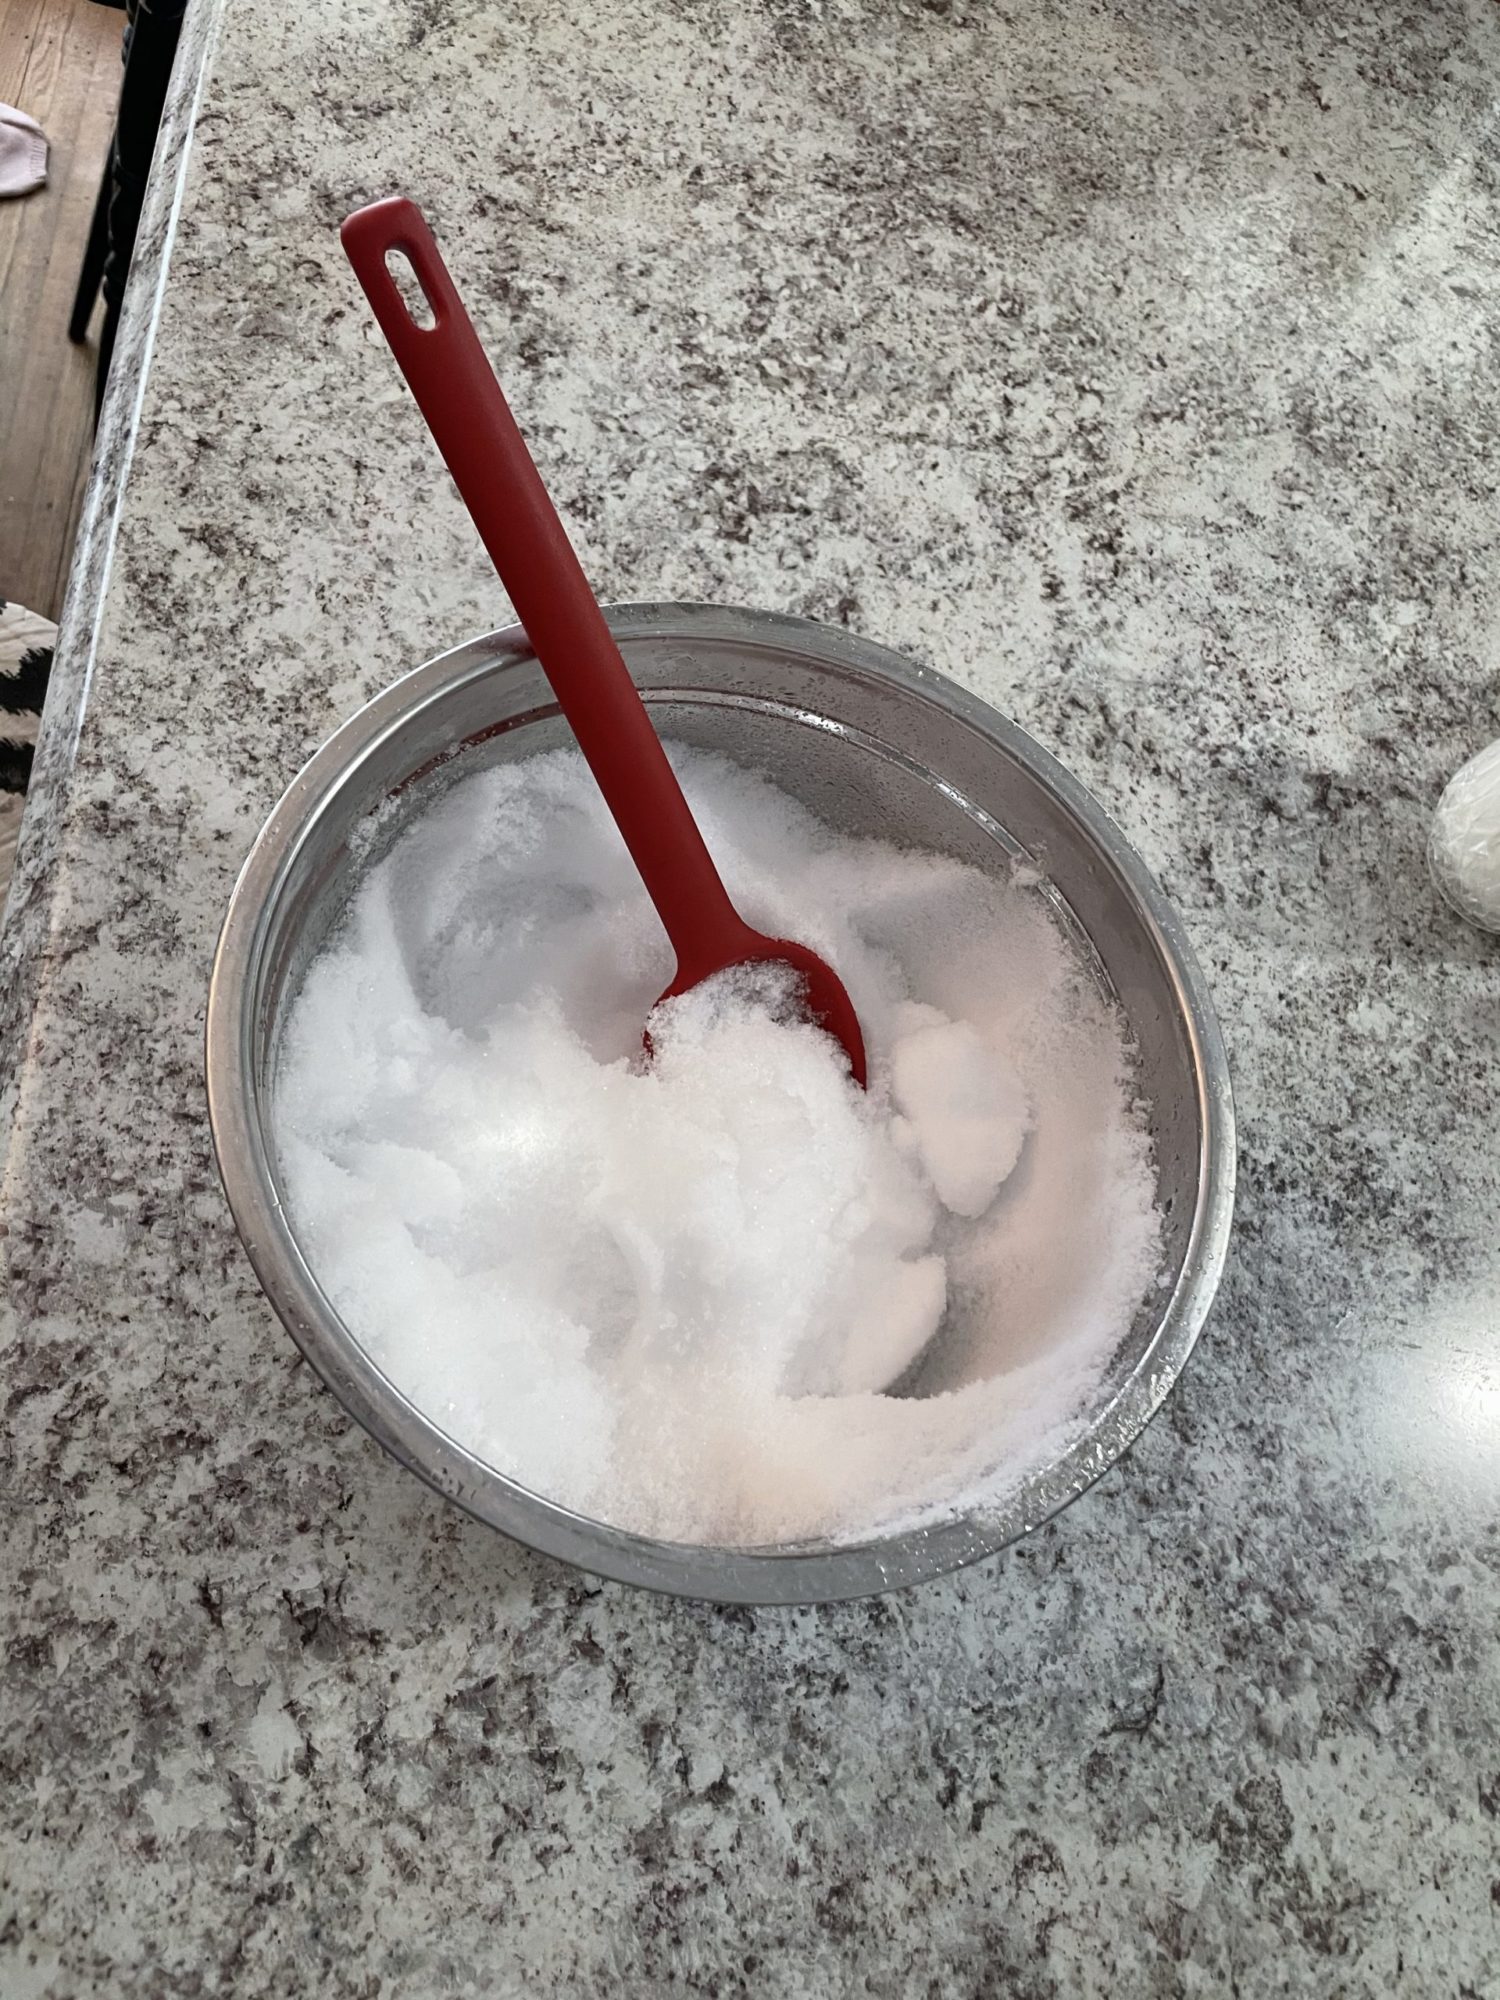
The first step in making your ice cream is to suit up and head outside. We played in the snow for a full 10 minutes before the 3-year-old had had it (OK, and his 33-year old mom). We left our giant bowl of snow next to the door so we could take our time changing clothes and not risk any melting.
Step 2: Add the ingredients to the snow.
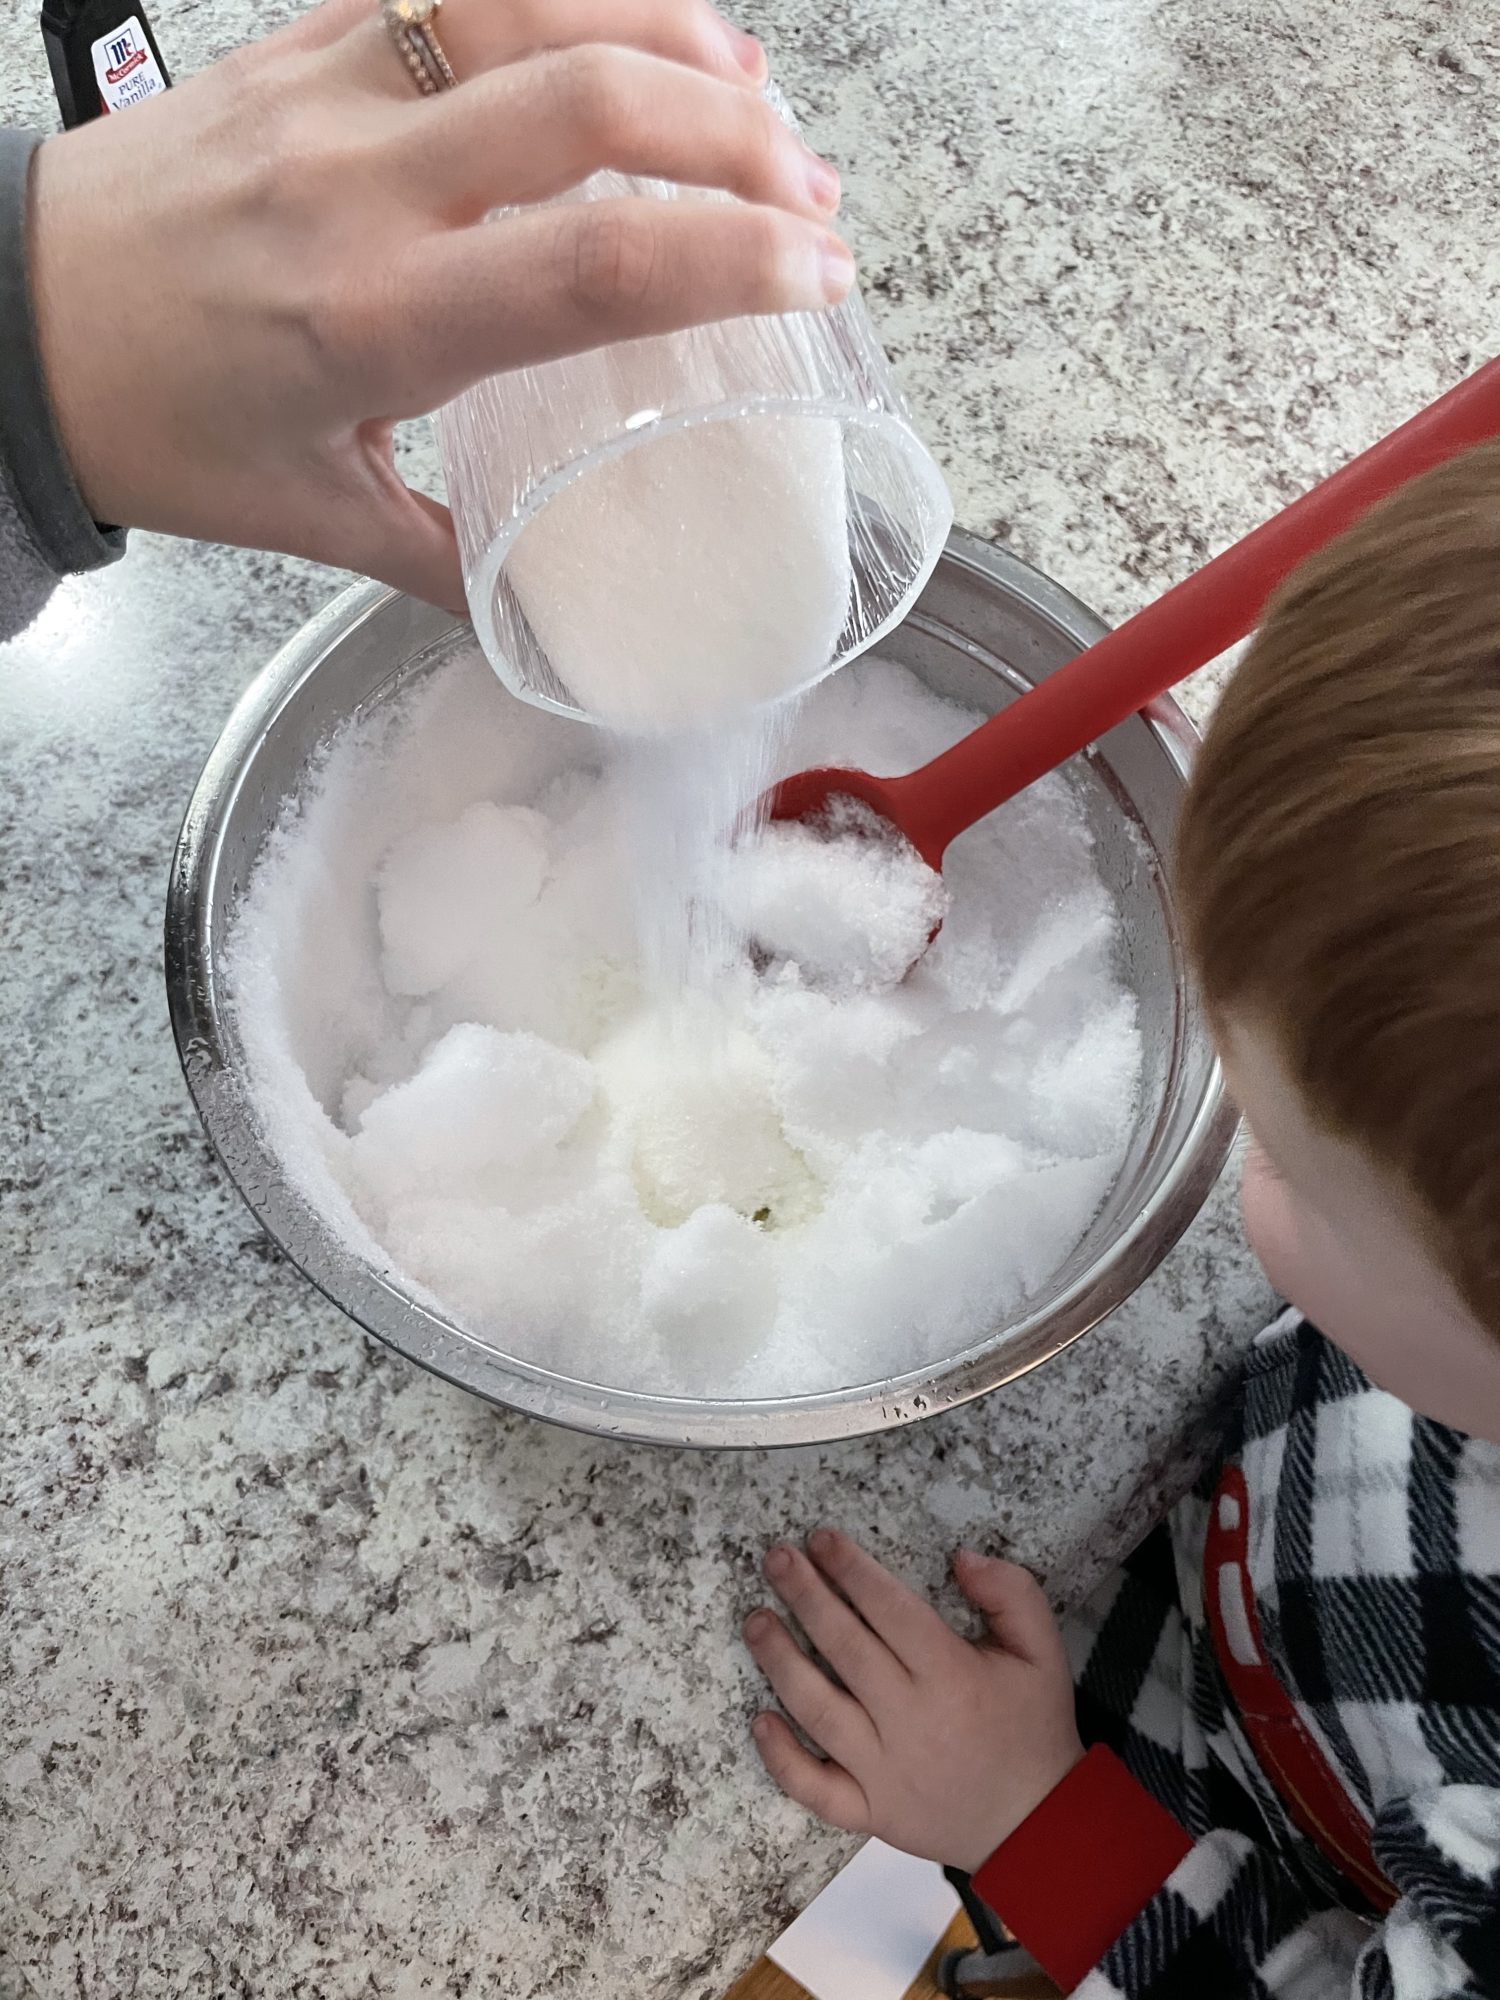
This is really not a big process. Just throw it all into the bowl of snow and start stirring. Add your milk slowly so you can adjust based on the amount of snow you collected. I ended up using the whole cup, but I think 3/4 a cup would cut it for next time. Next, toss in the sugar and vanilla.
Step 3: Add your toppings.
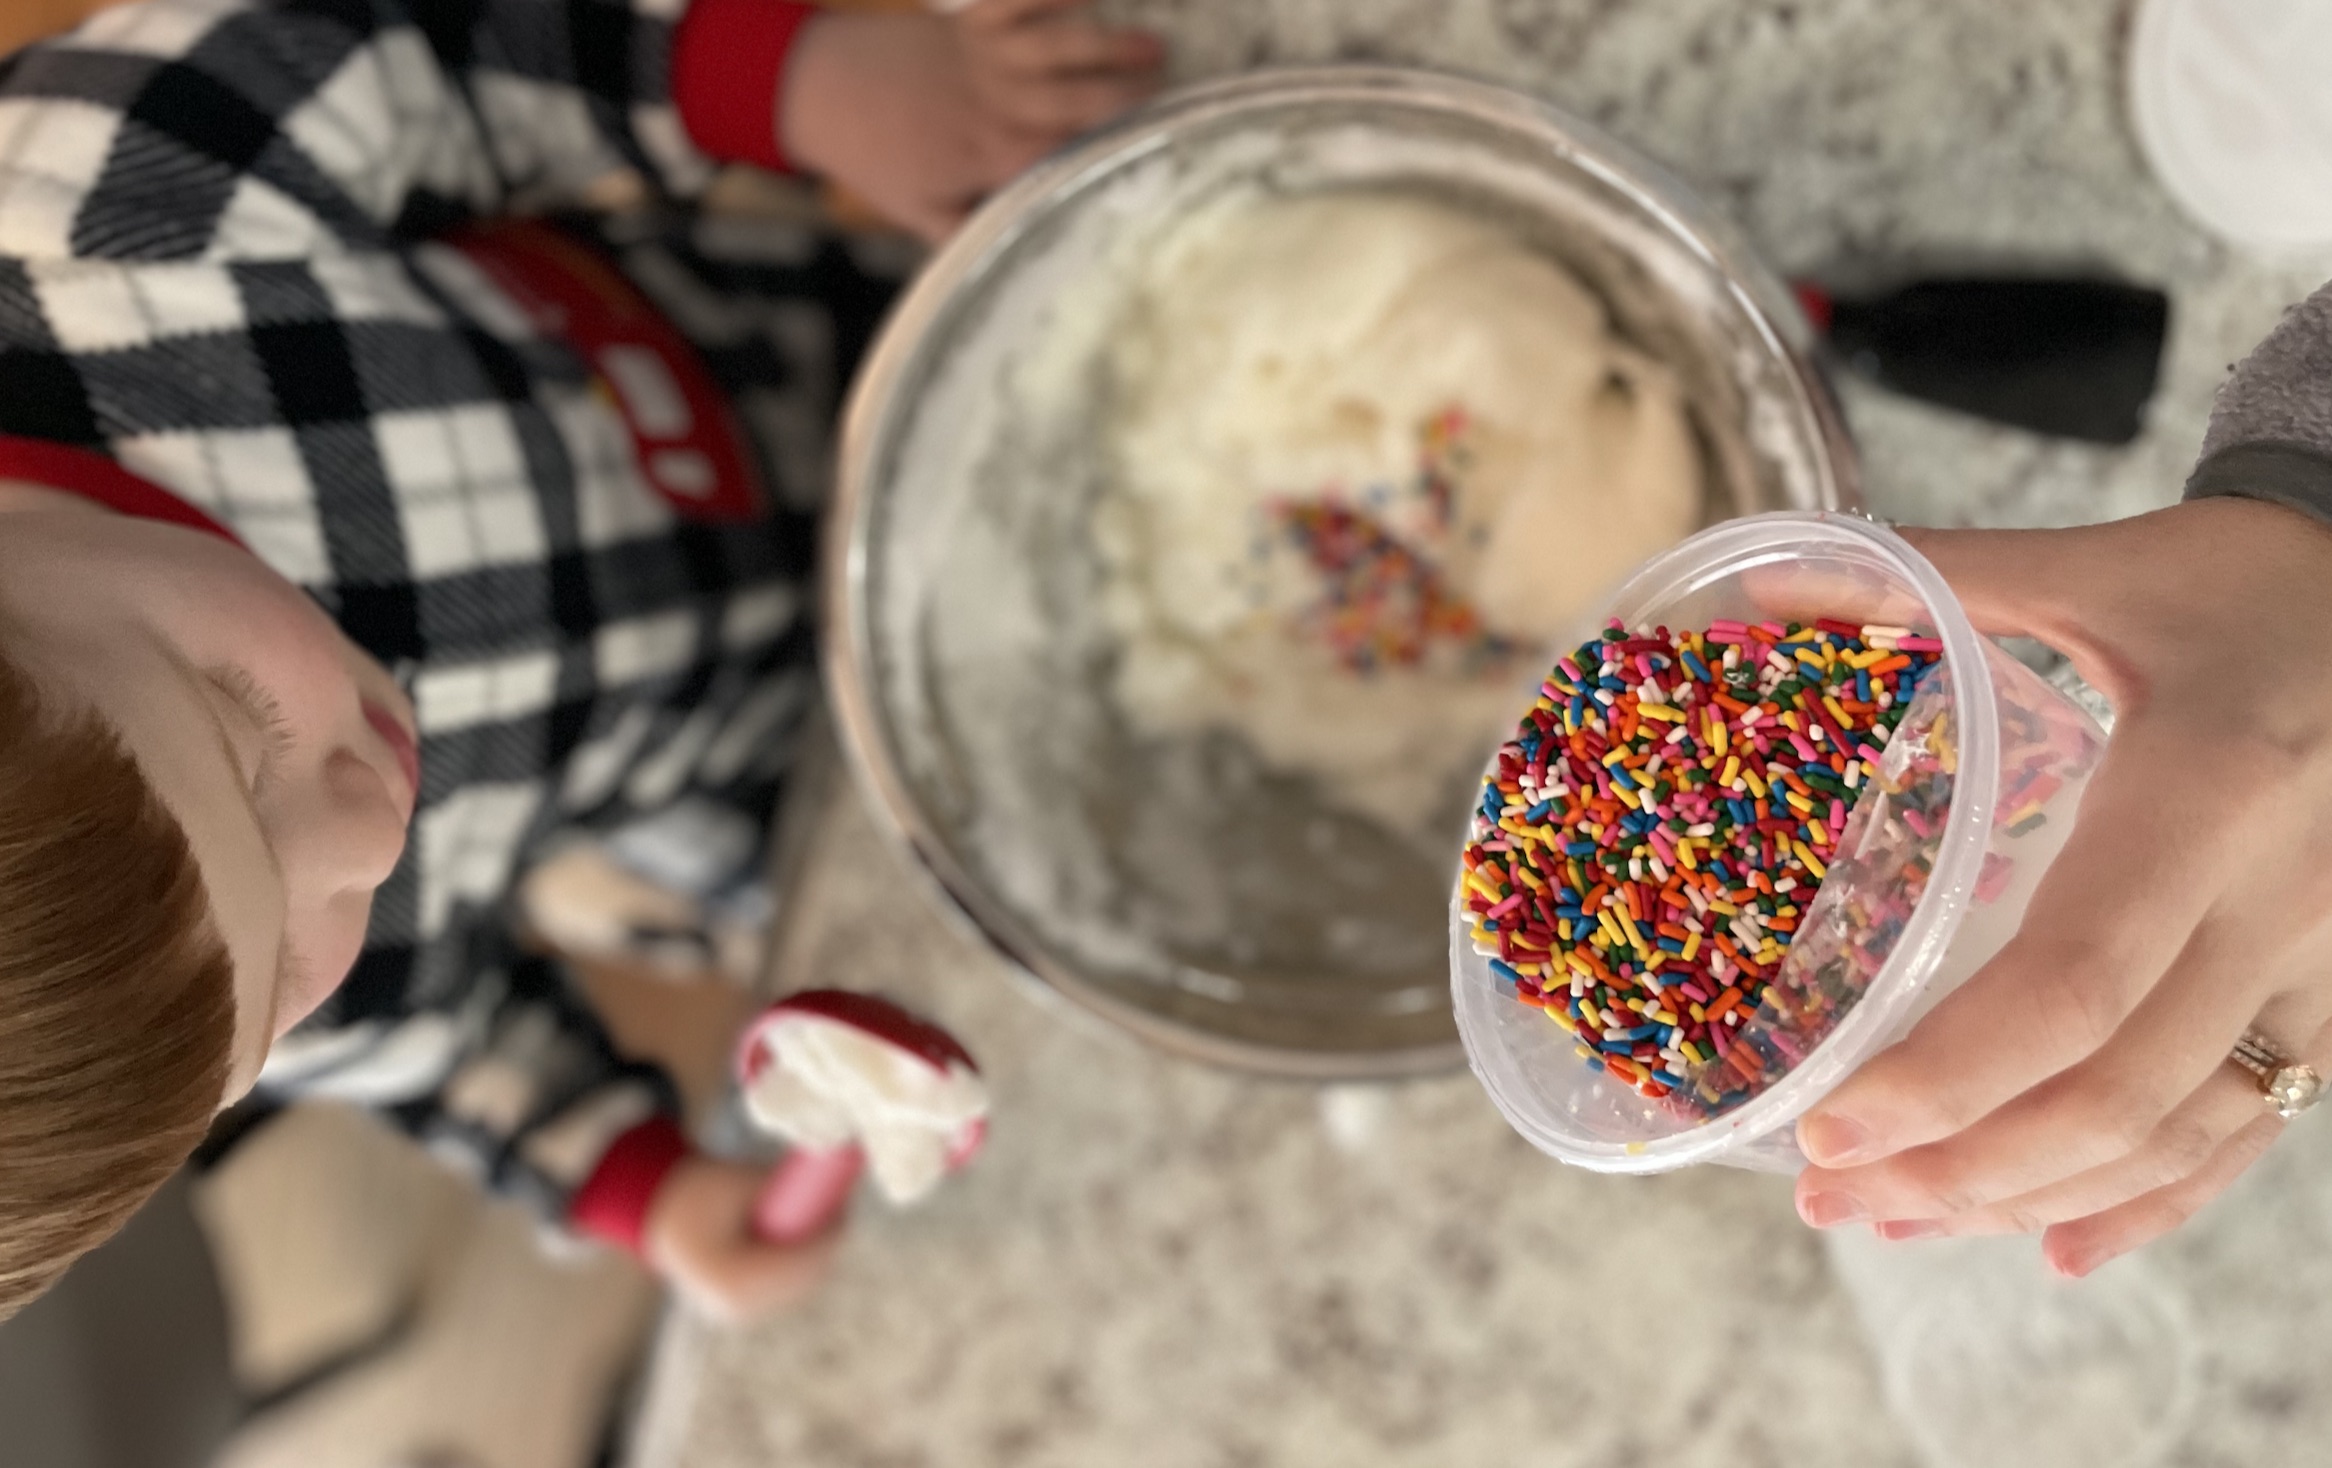
Fresh fruit? Chocolate syrup? Pretty much anything goes for this stage. We added some sprinkles to our ice cream and were set.
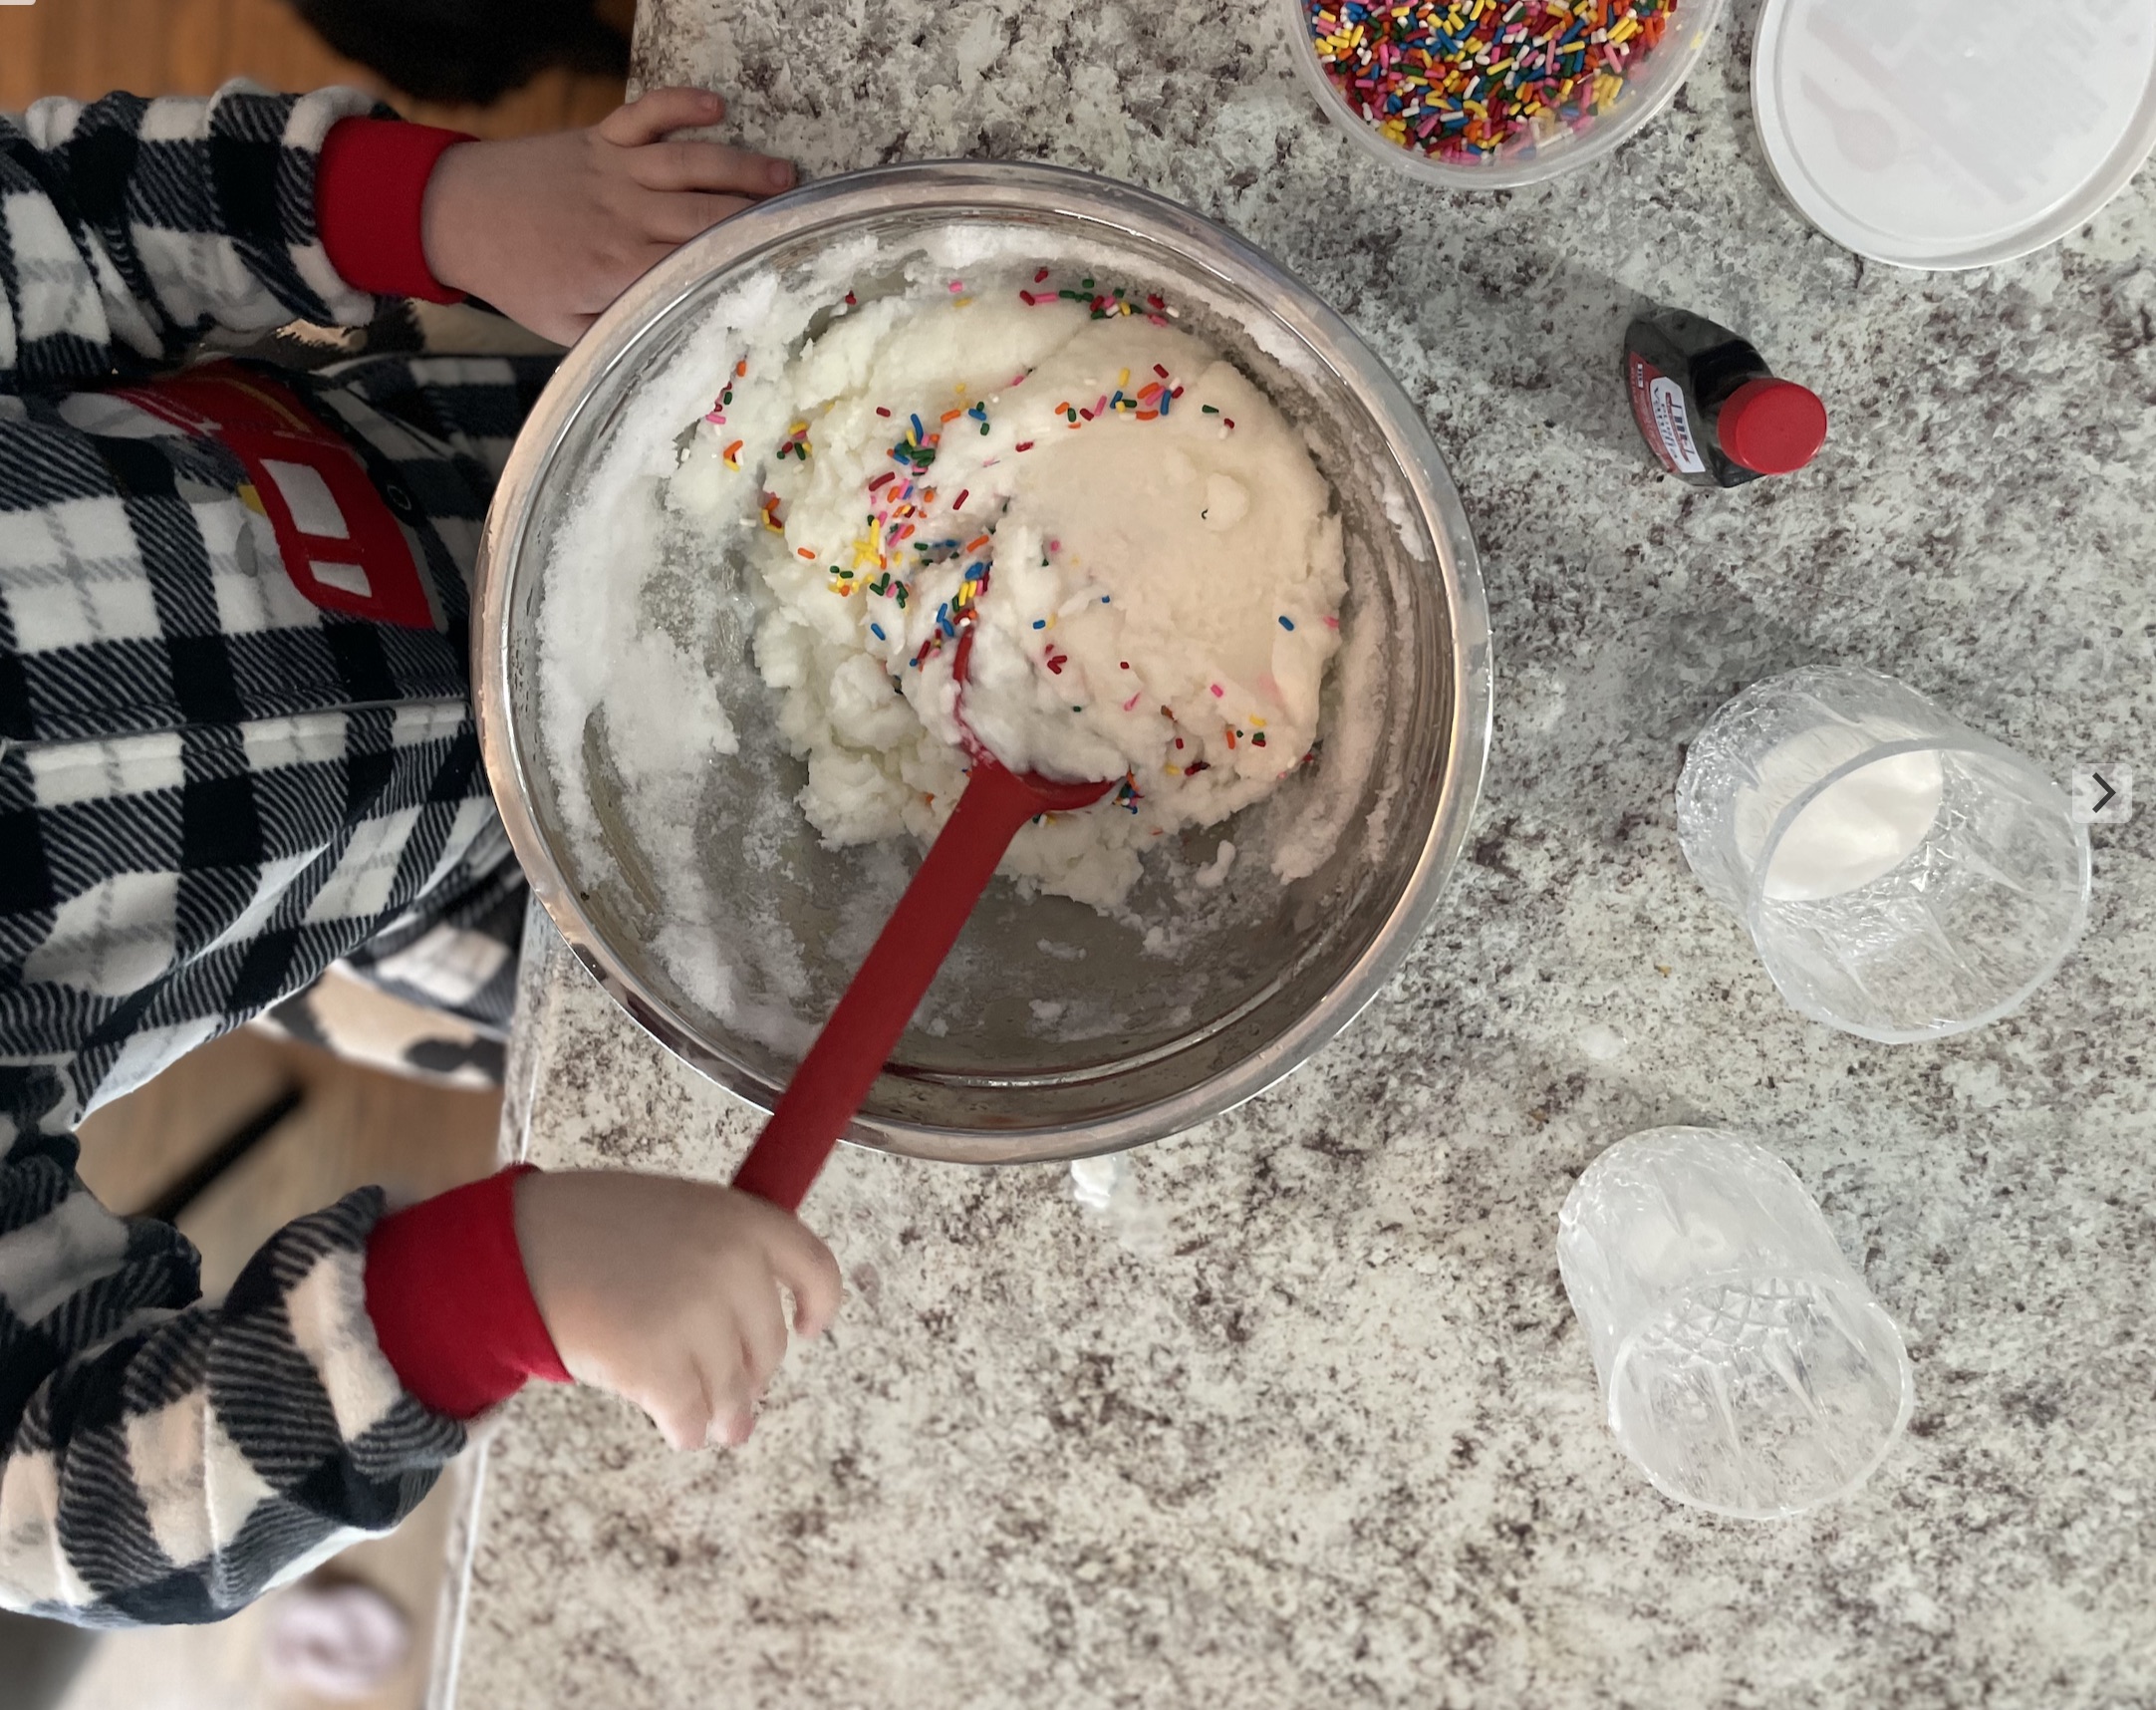
Our Family’s Review
While I had a hard time forgetting that I had just scooped the main ingredient off the ground outside, my children didn’t seem to mind that one bit. Our ice cream turned out a little bit on the mushy side, but besides that, it really did taste pretty good. It could have even made the perfect milkshake.
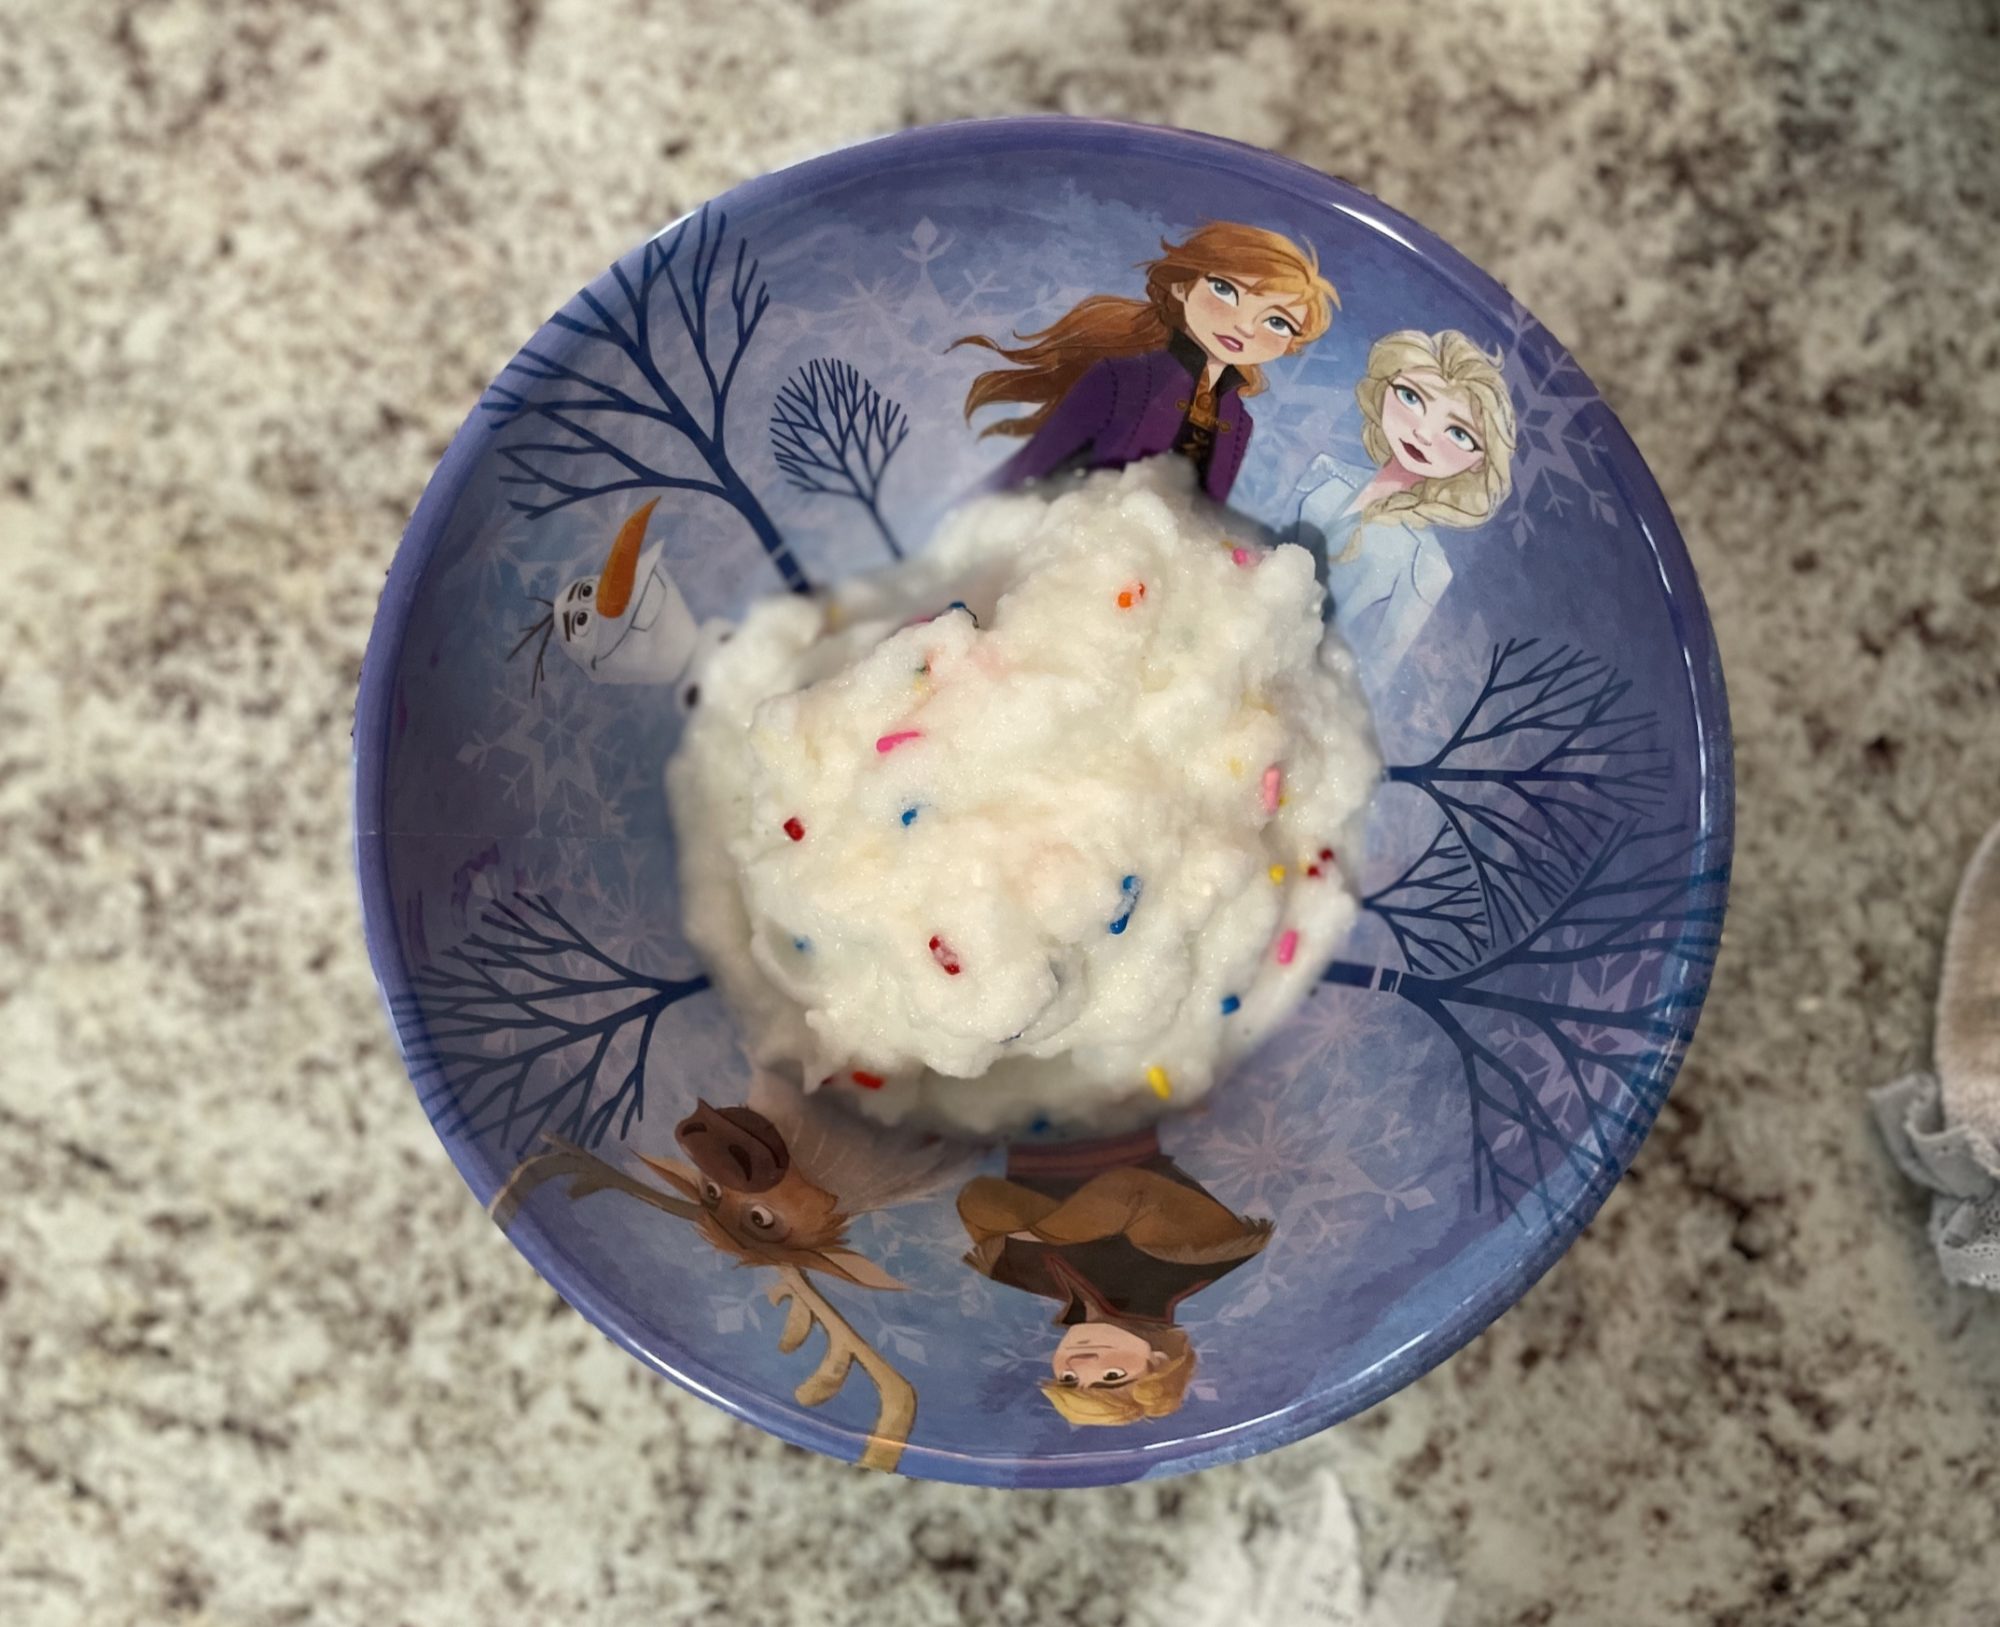
Our Snow Ice Cream Recipe
Below is the simple recipe our family used. If you do a quick Google search, you can also find a bunch of different versions and ideas.
– One large bowl of snow
– 1 cup of milk
– 1/2 cup of sugar
– 1 tablespoon vanilla
– Sprinkles (optional)
Once you have your bowl of snow, toss in the remaining ingredients. Stir until mixed. Serve immediately.
